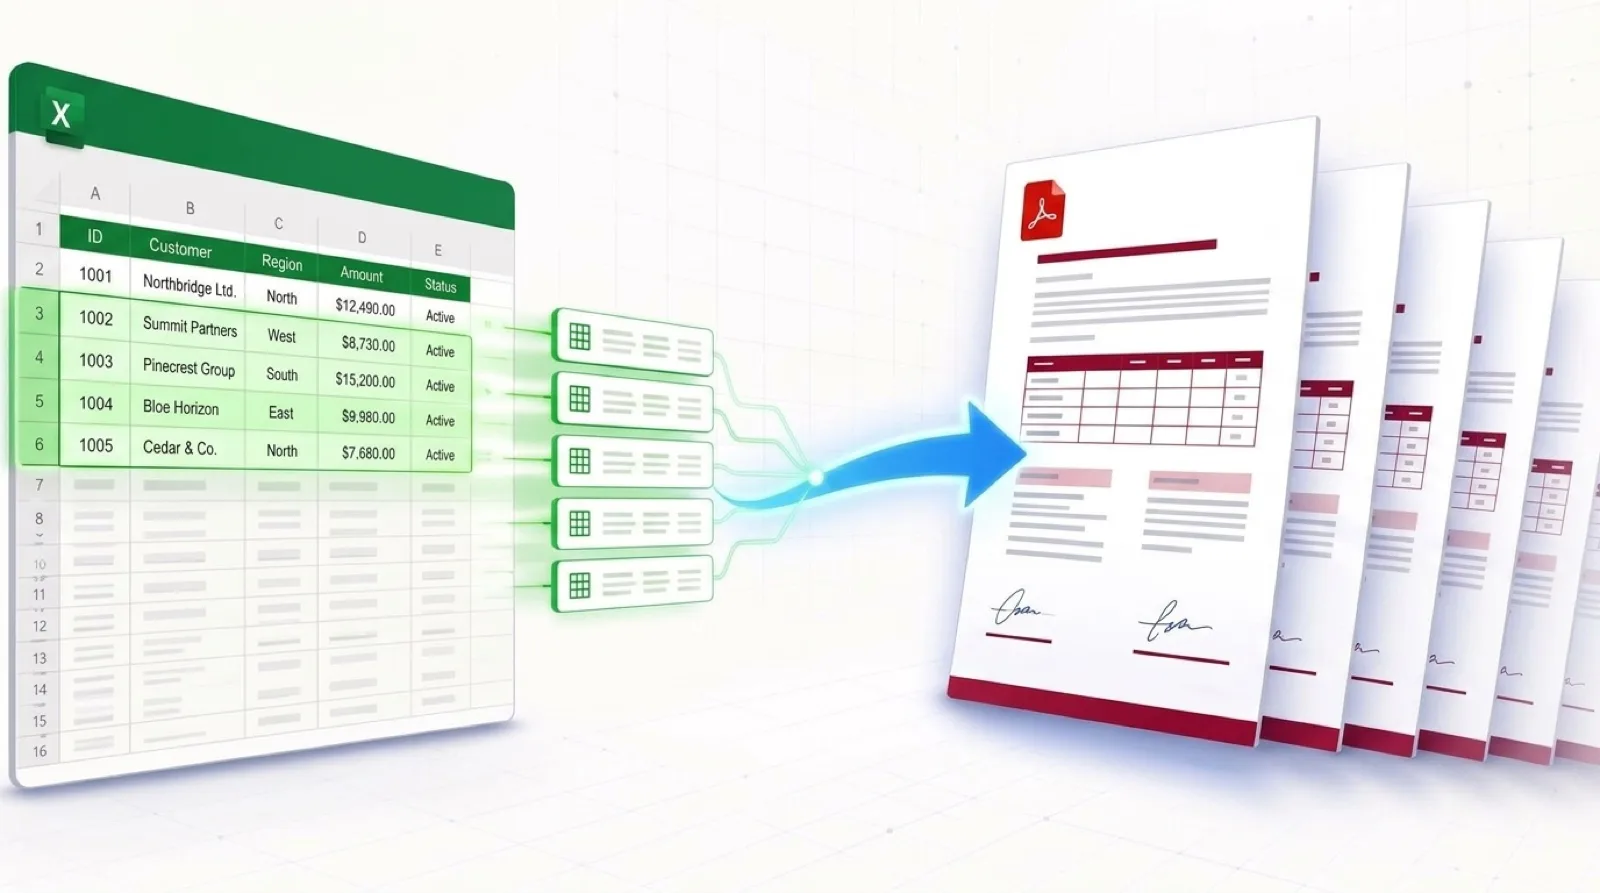
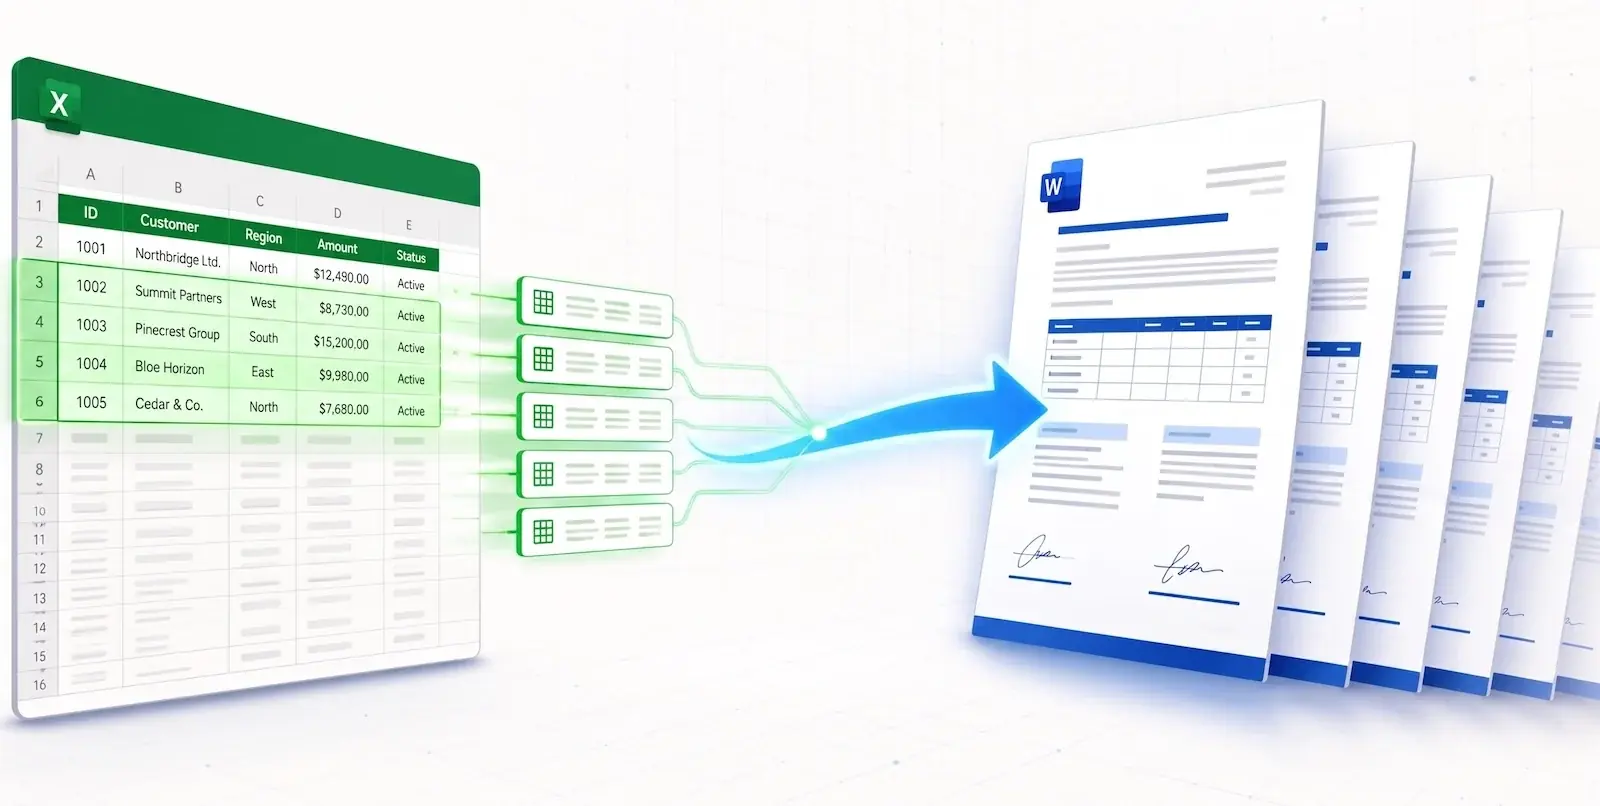
How to Fill Word Documents from Spreadsheets (Excel, Google Sheets, CSV)
Your team may keep its data in Microsoft Excel, Google Sheets, Airtable, or CSV exports from a CRM. When it's time to use that data to fill Word documents from a spreadsheet for customers, partners, or regulators, the process can get complicated.
This guide shows you how to connect any spreadsheet format to a Word template with TRYDOKU and turn each row into a personalized, formatted document without writing code.
Moving Data from Spreadsheets to Documents
Spreadsheets are designed for numerical analysis, calculation, and database tracking. Word documents are designed for structured reading, branding, and legal presentation.
Moving data between the two by hand creates three common problems:
- Formatting Problems: Copying tabular numbers into Word documents often breaks table alignments, alters fonts, and leaves unwanted borders.
- Slow Manual Typing: Typing in the details for 50 clients takes an administrator several hours.
- Spreadsheet Incompatibility: Word's built-in Mail Merge works well only with local Windows Excel files. If your data lives in Google Sheets, Airtable, or a cloud CSV export, Mail Merge requires multi-step export and database driver workarounds.
TRYDOKU solves this by accepting native Excel (.xlsx), CSV files, and Google Sheets exports interchangeably.
Comparing Methods
| Feature | Word Mail Merge | Python Scripting | TRYDOKU |
|---|---|---|---|
| Data Sources | Local Excel / Access | Any (via custom code) | Excel (.xlsx), CSV, Google Sheets |
| Setup Time | 20–40 mins | Hours of scripting | Under 2 minutes |
| Output Type | Combined file or print | Output directory files | ZIP of DOCX & vector PDF |
| Developer API | None | Custom backend script | Standard REST API with webhooks |
| Ease of Use | Moderate | Requires software engineer | Accessible to any business user |
How to Fill Word Documents from Spreadsheets in 4 Steps
Step 1: Design Your Word Template with Placeholders
Create your document in Microsoft Word (.docx). Format your letterhead, adjust page margins, and add your organization's logo.
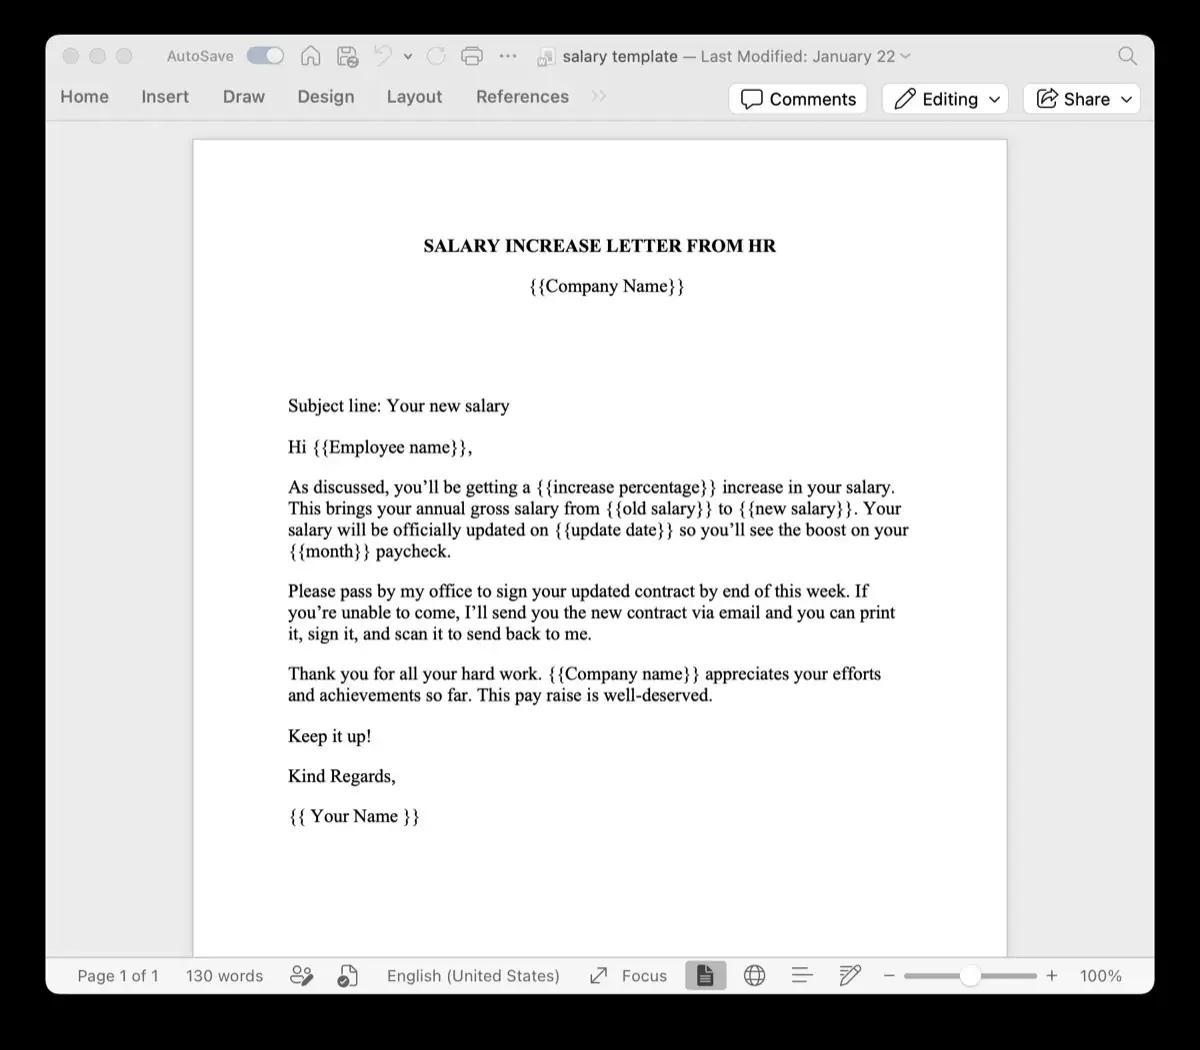
Wherever spreadsheet data should appear, insert placeholder tags wrapped in double curly brackets:
MEMORANDUM OF UNDERSTANDING

Date: {{Agreement_Date}}
Organization: {{Partner_Organization}}
Contact Person: {{Lead_Contact}}

Scope of Collaboration:
{{Collaboration_Summary}}

Agreed Contribution: {{Funding_Amount}}
Check your template variables with our free Word template variable parser.
Step 2: Prepare Your Spreadsheet (Excel or CSV)
Ensure the first row of your spreadsheet contains column headers that correspond to your placeholders (Agreement_Date, Partner_Organization, Lead_Contact, etc.).
If you have a CSV file and want to inspect its structure or convert it to structured JSON for developer integrations, use our free client-side CSV to JSON converter.
Step 3: Upload and Map in TRYDOKU
- Upload your
.docxtemplate to TRYDOKU. - Upload your Excel spreadsheet (
.xlsx) or CSV file. - TRYDOKU scans both files and pairs your spreadsheet columns with your document variables. Review the mapping table to check that every field is matched.
Step 4: Batch Generate Documents
Select your desired output format (Word .docx or vector PDF) and click Generate.
TRYDOKU processes your spreadsheet and collects the documents in a ZIP archive. Each file keeps your template's formatting and gets its name from your spreadsheet fields. For repeating table rows and conditional sections, see our platform features.
Frequently Asked Questions
Can I fill Word documents using Google Sheets data?
Yes. Download your Google Sheet as an Excel file (.xlsx) or CSV, and upload it directly into TRYDOKU.
Does TRYDOKU support dynamic repeating tables?
Yes. TRYDOKU supports loop syntax ({> items }} ... {< items }}) that automatically repeats table rows for line items or invoices without breaking layout formatting.
Is my data secure and private?
Yes. TRYDOKU is hosted in Frankfurt, Germany (EU). All uploaded spreadsheets and generated documents are encrypted and automatically deleted after 24 to 72 hours in line with GDPR requirements.